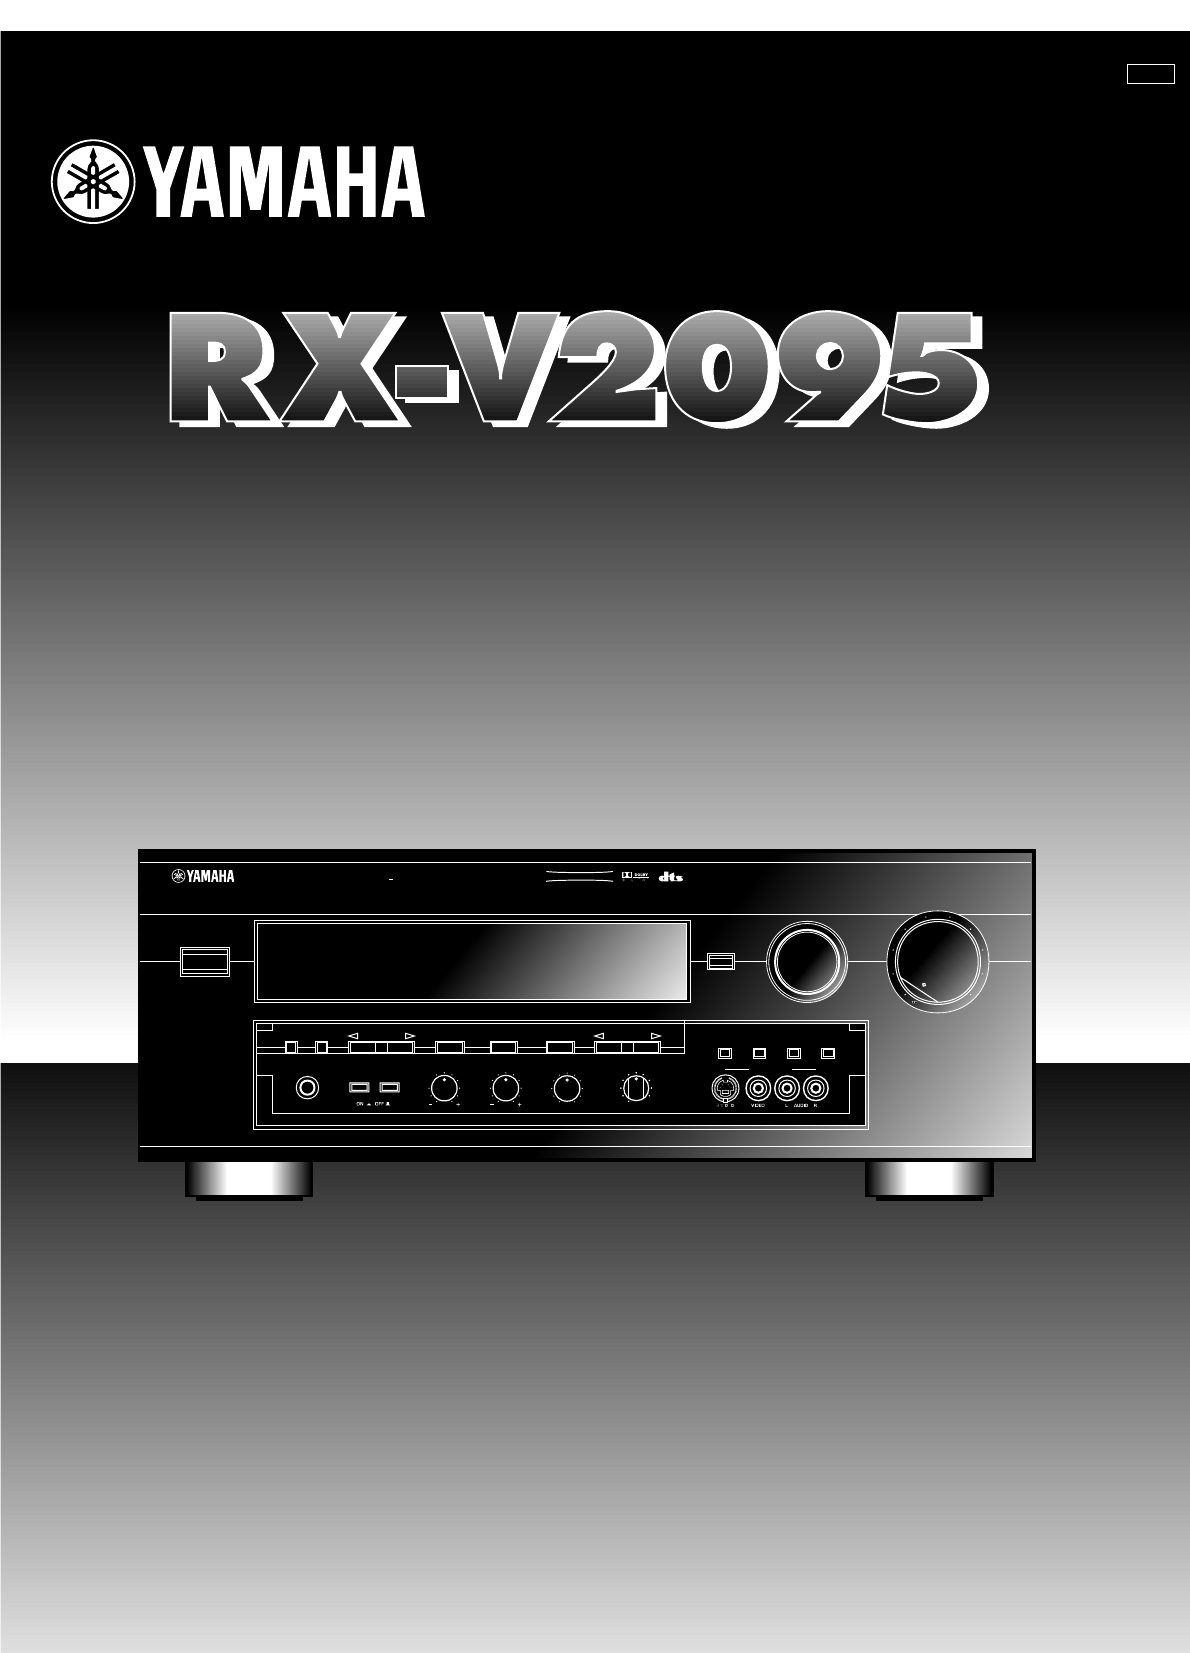
Yamaha RX-V2095 Owner's Manual
Browse online or download Owner's Manual for Receiver Yamaha RX-V2095. Yamaha RX-V2095 Owner's manual User Manual
- Page / 90
- Table of contents
- TROUBLESHOOTING
- BOOKMARKS
- NATURAL SOUND AV RECEIVER 1
- AMPLI-TUNER AUDIO-VIDEO 1
- SAFETY INSTRUCTIONS 2
- 19 For US customers only: 3
- Congratulations! 4
- CONTENTS 5
- <Singapore model> 6
- INTRODUCTION 7
- Dolby Pro Logic Surround 8
- Introduction 8
- DTS Digital Surround 9
- Dolby Digital 9
- CINEMA DSP 10
- Unpacking 11
- Battery replacement 12
- Controls and their functions 13
- GETTING STARTED 14
- PREPARATION 16
- 6 Speaker System 17
- 5 Speaker System 17
- 7 Speaker System 17
- 4 Speaker System 17
- Connections 18
- U.S.A. and Canada models> 20
- Speakers 26
- <Except Canada model> 27
- <For Canada model only> 27
- SUBWOOFER terminal 28
- CENTER terminal 28
- FRONT terminals 28
- REAR (SURROUND) terminals 28
- Antennas 29
- GND terminal 30
- ( SURROUND ) 31
- Plugging in this unit 31
- Selecting a type of display 32
- 1A. CENTER SP 33
- 1B. REAR SP 33
- 1C. MAIN SP 34
- 1D. LFE/BASS OUT 34
- 1E. SYS. SETUP 34
- 1F. MAIN LEVEL 34
- CONTINUED 36
- BASIC OPERATION 40
- U.S.A. and Canada models only 42
- Sound control 46
- Basic operation 47
- Preset tuning 48
- To recall a preset station 49
- To store stations 50
- Dolby Digital or DTS 54
- (Center speaker output level) 55
- (Subwoofer output level) 55
- ADVANCED FEATURES 62
- 3. DTS SET 64
- TV/DBS input terminals) 65
- What is a sound field? 66
- The elements of a sound field 66
- ROOM SIZE 68
- INIT. DLY (Initial Delay) 68
- LIVENESS 69
- S. DELAY (Surround Delay) 70
- Setting the SLEEP timer 71
- REMOTE CONTROLLER 72
- 1, 2, 3, 4) 74
- 1–4 in the 74
- Empty keys (1, 2) 75
- 1–3 is pressed, its 75
- 1, 2 or 3 on the above 76
- About the lighting of keys 77
- Setting the MACRO switch 78
- • Another key is pressed 82
- CUSTOM INSTALLATION GUIDE 83
- ZONE 2 remote controller 84
- TROUBLESHOOTING 85
- Remote controller 86
- SPECIFICATIONS 88
- AM SECTION 89
- Printed in Japan 90
Summary of Contents
OWNER’S MANUALMODE D’EMPLOIOWNER’S MANUALMODE D’EMPLOINATURAL SOUND AV RECEIVERAMPLI-TUNER AUDIO-VIDEOU C ANATURAL SOUND AV RECEIVER RX V209SCINE
6Dolby Pro Logic + 2 Digital Sound FieldsDigital sound fields are created on the presence side andthe rear surround side of the Dolby Pro Logic Surrou
7EnglishGETTING STARTEDGetting startedRemote controller(for the main room)User function stickersIndoor FM AntennaAM Loop AntennaAntenna adapter (U.S.A
8Installing batteries in the remotecontrollerSince the remote controller will be used for many of this unit’scontrol operations, you should begin by i
9EnglishControls and their functionsFront panelNATURAL SOUND AV RECEIVER RX V2095CINEMA DSP 7chVOLUMEINPUT SELECTORINPUT MODEl620284060l2842
108PHONES jackHeadphones can be plugged into this jack for private listening.You can listen to the sound to be output from the mainspeakers through he
11EnglishDisplay panelDIGITALPRO LOGICDSPSPEAKERSABTAPE/MDCDTUNERPHONODVD/LDTV/DBSVCR 1VCR 2V-AUXMEMORYSTEREO AUTOSLEEP2 351768 9041 indicatorsEither
12This unit has been designed to provide the best sound fieldquality with a full seven-speaker system setup, using a pair ofmain speakers to output ma
13English4 Speaker SystemBasic system.You can enjoy widely diffused sound by only adding a pair ofrear speakers to a basic stereo speaker system.1E. S
14Caution: Plug in this unit and other components after all connections are completed.All connections must be correct, that is to say L (left) to L, R
PAL/NTSC switch (China and General models only)This unit is designed for use with the NTSC and PALtelevision formats. Set this switch to the position
1 Read Instructions – All the safety and operatinginstructions should be read before the unit is operated.2 Retain Instructions – The safety and oper
16m Connecting to digital (OPTICAL and COAXIAL) terminalsIf your CD player, MD recorder, LD player, DVD player,TV/satellite tuner, etc. are equipped w
17EnglishPREPARATIONNotes●When you connect an audio/video unit to both of the digitaland analog terminals of this unit, make sure to connect toboth te
18If your DVD/LD/CD combi-player has a DOLBY DIGITAL RFsignal output terminal, connect it to this unit’s DIGITAL RFSIGNAL input terminal. Audio signa
19English<For U.S.A. and Canada models only>If your DVD/LD/CD combi-player has a DOLBY DIGITAL RFsignal output terminal, it can be connected to
20VIDEODVD/LDTV/DBSINVCR 1OUTINVCR 2OUTVIDEOS VIDEODVD/LDINVCR 1OUTVCR 2MONITOROUTS VIDEOAUDIO SIGNAL VIDEO SIGNALTV/DBSINOUTVIDEO INS-VIDEOOUTVIDEOOU
21EnglishThis unit is equipped with additional 6-channel audio signalinput terminals (for left main, right main, center, left rearsurround, right rear
22SpeakersSEE INSTRUCTION MANUAL FOR CORRECT SETTING.CENTERFRONTCAUTIONMAINCENTERFRONT REAR( SURROUND )PREOUTMAININSPEAKERSCOUPLER OUTPUTABABREARMAINI
23EnglishWARNINGDo not change the IMPEDANCE SELECTOR switchsetting while the power to this unit is on, otherwise thisunit may be damaged.IF THIS UNIT
24The speaker connections described on page 22 are fine formost applications. If for some reason, however, you wish todrive main, center, front effect
25EnglishAntennas●Each antenna should be connected to the designated terminals correctly, as shown in the following figure.●Both AM and FM indoor ante
English1. IMPORTANT NOTICE : DO NOT MODIFY THIS UNIT!This product, when installed as indicated in theinstructions contained in this manual, meets FCCr
26m Connecting the indoor FM antennaConnect the included indoor antenna to the 75Ω UNBAL. FMANT terminal.NoteDo not use an outdoor FM antenna and the
27English•After completing all connections, plug the AC power cordinto an AC outlet.•Unplug the AC power cord from the AC outlet if this unit isnot to
28PREPARATIONIf you connect your VCR, LD player, video monitor, etc. to thisunit, you can take advantage of this unit’s capability to displayprogram t
29English1A. CENTER SPChoices: LARGE (LRG)/SMALL (SML)/NONEPreset position: LRGLRG: When your center speaker is approximately the samesize as the main
301C. MAIN SPChoices: LARGE/SMALLPreset position: LARGELARGE: If your main speakers have a high ability for bassreproduction.In this position, full ra
31Englishm Changing selectionsRefer to the display panel or the monitor screen when changing the selections.1 Set the PARAMETER/SET MENU switch on the
321Set to the “∞” position.2 Turn on the power.3 Select main speakers A or B. The correspondingindicator will be illuminated.* Both speakers A and B c
33English8 Turn up the volume.You will hear a test tone (like pink noise) from the left mainspeaker, then the center speaker, then the right mainspeak
3411 For the front effect speaker level adjustment, pressthe TEST key on the remote controller again so that“TEST DSP” appears on the display.A calibr
35EnglishNATURAL SOUND AV RECEIVER RX V2095CINEMA DSP 7chVOLUMEINPUT SELECTORINPUT MODEl620284060l28420–dBPHONESBASSEXTENSIONBASS TREBLE BAL
Congratulations!You are the proud owner of a Yamaha Digital Sound Field Processing (DSP)System—an extremely sophisticated audio component. The DSP sys
36BASIC OPERATIONNATURAL SOUND AV RECEIVER RX V2095CINEMA DSP 7chVOLUMEINPUT SELECTORINPUT MODEl620284060l28420–dBPHONESBASSEXTENSIONBASS TR
37EnglishWhen you finish using this unitPress the STANDBY/ON switch on the front panel or theSTANDBY key on the remote controller to enter the standby
38v For CD, TAPE/MD and TV/DBS sources:The following three input modes are provided.AUTO:This mode is automatically selected when you turn on thepower
Notes on input mode selection●The input mode for a TV/DBS source is selected withfunction “7. TV/DBS INPUT” in the SET MENU mode. Thisunit will be au
401 Set the REC OUT/ZONE 2 selector to theSOURCE/REMOTE position.2 Select the source you want to record.3 Play the source and then turn the VOLUME con
41Englishm Recording a source to tape (or MD) while listening to (or watching) anothersourceThe source (except for “SOURCE/REMOTE”) that is selected w
42Notes on recording●The VOLUME, BASS, TREBLE, BALANCE controls, theBASS EXTENSION button and the settings of DSP haveno effect on the material being
43EnglishTuningBASIC OPERATION1 Select “TUNER” as the input source.2 Select the reception band. “FM” or “AM” will beilluminated.34 If “ : ” is illumin
44BASIC OPERATION1 Tune to a station.(Refer to the previous page for the tuning procedure.)23 Select a group (A – E) of preset stations before the“MEM
45EnglishBASIC OPERATION1 Select the group of preset stations.2 “ : ” must be illuminated on the display to recall presetstations. If necessary, press
1EnglishSAFETY INSTRUCTIONS ... Inside of the Front CoverCAUTION ...
4612 Press and hold the MEMORY button for more than 3secondsAfter approx. 5 seconds, the automatic preset tuning beginsfrom the currently displayed fr
47EnglishBASIC OPERATIONm Exchanging preset stationsYou can exchange the places of two preset stations with each other as shown below.Example)If you w
48Using digital sound field processor (DSP)Playing a source with an effect of the digital sound field processor (DSP)BDVD/LDEXT. DEC.PHONOEFFECTON/OFF
49English3 Select a program that is suitable for the source.The name of the selected program lights up on the display panel and the monitor screen.4●A
50m To enjoy a video source encodedwith Dolby Pro Logic Surround,Dolby Digital or DTSWhen you select the program No. 10, 11 or 12, and the inputsignal
51EnglishAdjusting output level of the center, right rear, left rear, front effect speakersand subwooferYou can adjust the sound output level of the e
52SpeakersCENTERRIGHT SURROUND (R SUR.)LEFT SURROUND (L SUR.)FRONTSUBWOOFER (SWFR)Preset value00000Control range (dB)MIN, –20 to +10MIN, –20 to +10MIN
53EnglishThe following list gives you a brief description of the sound fields produced by each of the DSP programs. Keep in mind that most ofthese are
54FEATUREThis is the sound field at stage front in “The Bottom Line”, a famous NewYork Jazz club. The floor can seat 300 people to the left and right
55EnglishFEATUREProvides excellent depth of vocals and overall clarity, restrainingexcessive reverberation.For opera, the orchestra pit and the stage
21. To assure the finest performance, please read this manualcarefully. Keep it in a safe place for future reference.2. Install this unit in a cool, d
56FEATURECreates the extremely wide sound field of a movietheater. It precisely reproduces the source sound indetail, giving both the video and the so
57EnglishFEATUREThe built-in Dolby Pro Logic Surround decoder, the DolbyDigital decoder or the DTS decoder precisely reproducessounds and sound effect
58ADVANCED FEATURESRefer to the information in the display panel or monitor screenduring operation. The monitor power must be turned on todisplay info
59English1. SPEAKER SET (Selecting the output modes suitable for your speaker system)Refer to pages 29 to 31 for details. (Once you have selected prop
60ADVANCED FEATURES4. CENTER DELAY [Adjusting the delay of center sounds (dialog etc.)]●Control range: 0 ms to 5 ms (in 1 ms step)Preset value: 0 ms●T
61English7. TV/DBS INPUT (Selecting the initial input mode of the source connected to theTV/DBS input terminals)For the source connected to the TV/DBS
62What is a sound field?In order to explain the impressive functions of the DSP, weneed to first understand what a sound field really is.What really c
63Englishm Selecting and editing program parametersThis adjustment can be made only by using the remote controller and watching the monitor screen or
64m Descriptions of the digital sound field parametersNot all of the following parameters are found in every program.●ROOM SIZEHow it Affects the Soun
65English●LIVENESSHow it Affects the Sound:This parameter changes the apparent reflectivity of the wallsin the hall.The early reflections from a sound
3English7 Channel Power AmplificationMain: 100W + 100W (8Ω) RMS OutputPower, 0.02% THD, 20–20,000 HzCenter: 100W (8Ω) RMS Output Power, 0.02% THD, 20–
66●REV. LEVEL (Reverberation Level)This parameter adjusts the volume of the reverberation sound.The larger the value, the stronger the reverberation b
67English1 Select the source using the INPUT SELECTOR andstart playback (or select a broadcast station) on thesource unit.2 Press the SLEEP key repeat
68The remote controller is designed to control the most commonly used functions. If the CD player, tape deck, LD player, etc. is aYAMAHA component wit
69EnglishREMOTE CONTROLLER1 TAPE/MD keysThese keys control tape decks or MD recorders.The A/B/C switch (I) should be set to the “A” position tocontrol
70REMOTE CONTROLLERThis is a learning remote controller. The shaded keys in the illustration shown below can be programmed to “learn” controlfunctions
71EnglishNotes• Area A cannot learn a new function. To store a new function,store it onto area B or C.• If a key which has a preset function learns a
72REMOTE CONTROLLERWhen the cover of the remote controller is closed, you can easily operate Yamaha components including learned functions by usingthe
73EnglishREMOTE CONTROLLERNotes• If an OPERATION CONTROL key is substituted for a keywhich has no function (empty), then a command will not becarried
74REMOTE CONTROLLERMacro operations (Cover is closed)The Macro feature makes it possible to operate a series offunctions by pressing just one key. For
75EnglishREMOTE CONTROLLERMacro key1st(Turns on this unit.)2nd(Selects an input source.)3rd(Starts playback of a source.)“”on area A of keys 1“”on are
4Welcome to the exciting world of digital home entertainment.This unit is one of the most complete and advanced AVreceiver available. Some of the more
76REMOTE CONTROLLERm Learning a new function1 Place this remote controller and the other remotecontroller so that they face each other.2* If there is
m Making a new macroA new macro can be programmed onto any preset macro key in place of the factory preset functions. (See page 74 to know whatkeys ar
78REMOTE CONTROLLER1 To clear a learned key function, press the LEARN buttonusing a ball-point pen or similar object.To clear a macro you made, press
REMOTE CONTROL OUTAUDIO SIGNAL ZONE 2 OUTVIDEO SIGNAL ZONE 2 OUTREMOTE CONTROL IN79EnglishCUSTOM INSTALLATION GUIDEYou can make up a dual-room audio/v
80CUSTOM INSTALLATION GUIDEThis remote controller makes input source selections on thisunit and controls Yamaha remote control-compatible CDplayer, ta
81EnglishRefer to the chart below when this unit does not function properly. If the problem you are experiencing is not listed below or if theinstruct
82TROUBLESHOOTINGProblemThe remote controller does not work.The remote controller does not functionproperly.Learning cannot be made successfully.(The
83EnglishTROUBLESHOOTINGProblemA loud hissing noise is heard when youplay back a source encoded with DTS.A percussive noise is heard when youbegin pla
84AUDIO SECTIONMinimum RMS Output Power Per Channel (When both channels are driven)MAIN L/R (20 Hz to 20 kHz, 0.02% THD, 8 ohms) ...
85EnglishSPECIFICATIONSSignal-to-Noise Ratio(IHF) Mono/Stereo [U.S.A., Canada, China and Generalmodels] ...81 dB/75 d
5EnglishDolby Digital is the next level of Dolby Surround sound systemdeveloped for 35 mm film-movies by employing low bit-rateaudio coding.Dolby Digi
YAMAHA ELECTRONICS CORPORATION, USA 6660 ORANGETHORPE AVE., BUENA PARK, CALIF. 90620, U.S.A.YAMAHA CANADA MUSIC LTD. 135 MILNER AVE.,
Related products and manuals for Receiver Yamaha RX-V2095
 (2 pages)
(8 pages)
(25 pages)
(58 pages)
(16 pages)
(2 pages)
(8 pages)
(25 pages)
(58 pages)
(16 pages)
 (23 pages)


 (16 pages)
(88 pages)
(53 pages)
(16 pages)
(88 pages)
(53 pages)
 (48 pages)
(97 pages)
(2 pages)
(172 pages)
(12 pages)
(20 pages)
(20 pages)
(48 pages)
(97 pages)
(2 pages)
(172 pages)
(12 pages)
(20 pages)
(20 pages)
© 2020, manymanuals.com. All rights reserved. | 3.647 s |
 Manymanuals.com
 Manymanuals.de
 Manymanuals.fr
 Manymanuals.it
 Manymanuals.pl
 Manymanuals.cz
 Manymanuals.es
 Manymanuals-pt.com
Comments to this Manuals