Yamaha CC-50 Owner's Manual
Browse online or download Owner's Manual for CD players Yamaha CC-50. Yamaha CC-50 Owner's manual [en] User Manual
- Page / 48
- Table of contents
- TROUBLESHOOTING
- BOOKMARKS
- Active Servo 1
- Technology 1
- INTRODUCTION 3
- CONTENTS 3
- FEATURES 3
- For U.K. customers 4
- ACTIVE SERVO TECHNOLOGY 5
- CD Player (CDX-S50) 6
- Receiver (RX-S50) 6
- Speakers (NX-S50) 7
- Rear Panel of Receiver 8
- Rear Panel of CD Player 8
- Names of control buttons 9
- REMOTE CONTROL TRANSMITTER 10
- Loading the batteries for the 11
- Placing the system 12
- Antenna connection 12
- Speaker connection 13
- System connection 13
- Connecting the AC supply lead 13
- OPEN/CLOSE THE CONTROL DOOR 14
- SETTING THE CLOCK 15
- JAZZ CLUB 16
- Care of compact discs 17
- CD playback 18
- Direct-selection play 19
- Skip search 20
- Manual search 20
- Program play 21
- COMPACT DISC PLAYER OPERATION 22
- Repeat play 23
- Random play 24
- Switching the time display 24
- Automatic tuning 25
- Manual tuning 25
- Preset tuning 26
- Automatic preset tuning 27
- General information 28
- Tape A or tape B playback 29
- Winding the tape 30
- Continuous playback 31
- DOLBY B.C NR 31
- CD synchronized recording 32
- RECORDING A COMPACT DISC 33
- Automatic tape-editing 35
- To stop recording 36
- CD player 36
- Tape Deck 36
- To record programmed tracks 37
- OTHER RECORDINGS 38
- Erasing recorded tapes 39
- Timer play 40
- 2 Press the DISPLAY button 40
- HOW TO USE THE BUILT-IN TIMER 41
- Timer recording 42
- (To record a tuner program) 42
- Sleep timer operation 43
- Using the timer and the sleep 43
- Auxiliary (AUX) 44
- Turntable (PHONO) 44
- Headphones 45
- Internal care 45
- External care 45
- SPECIFICATIONS 46
- TROUBLESHOOTING 47
- VQ 98180 48
Summary of Contents
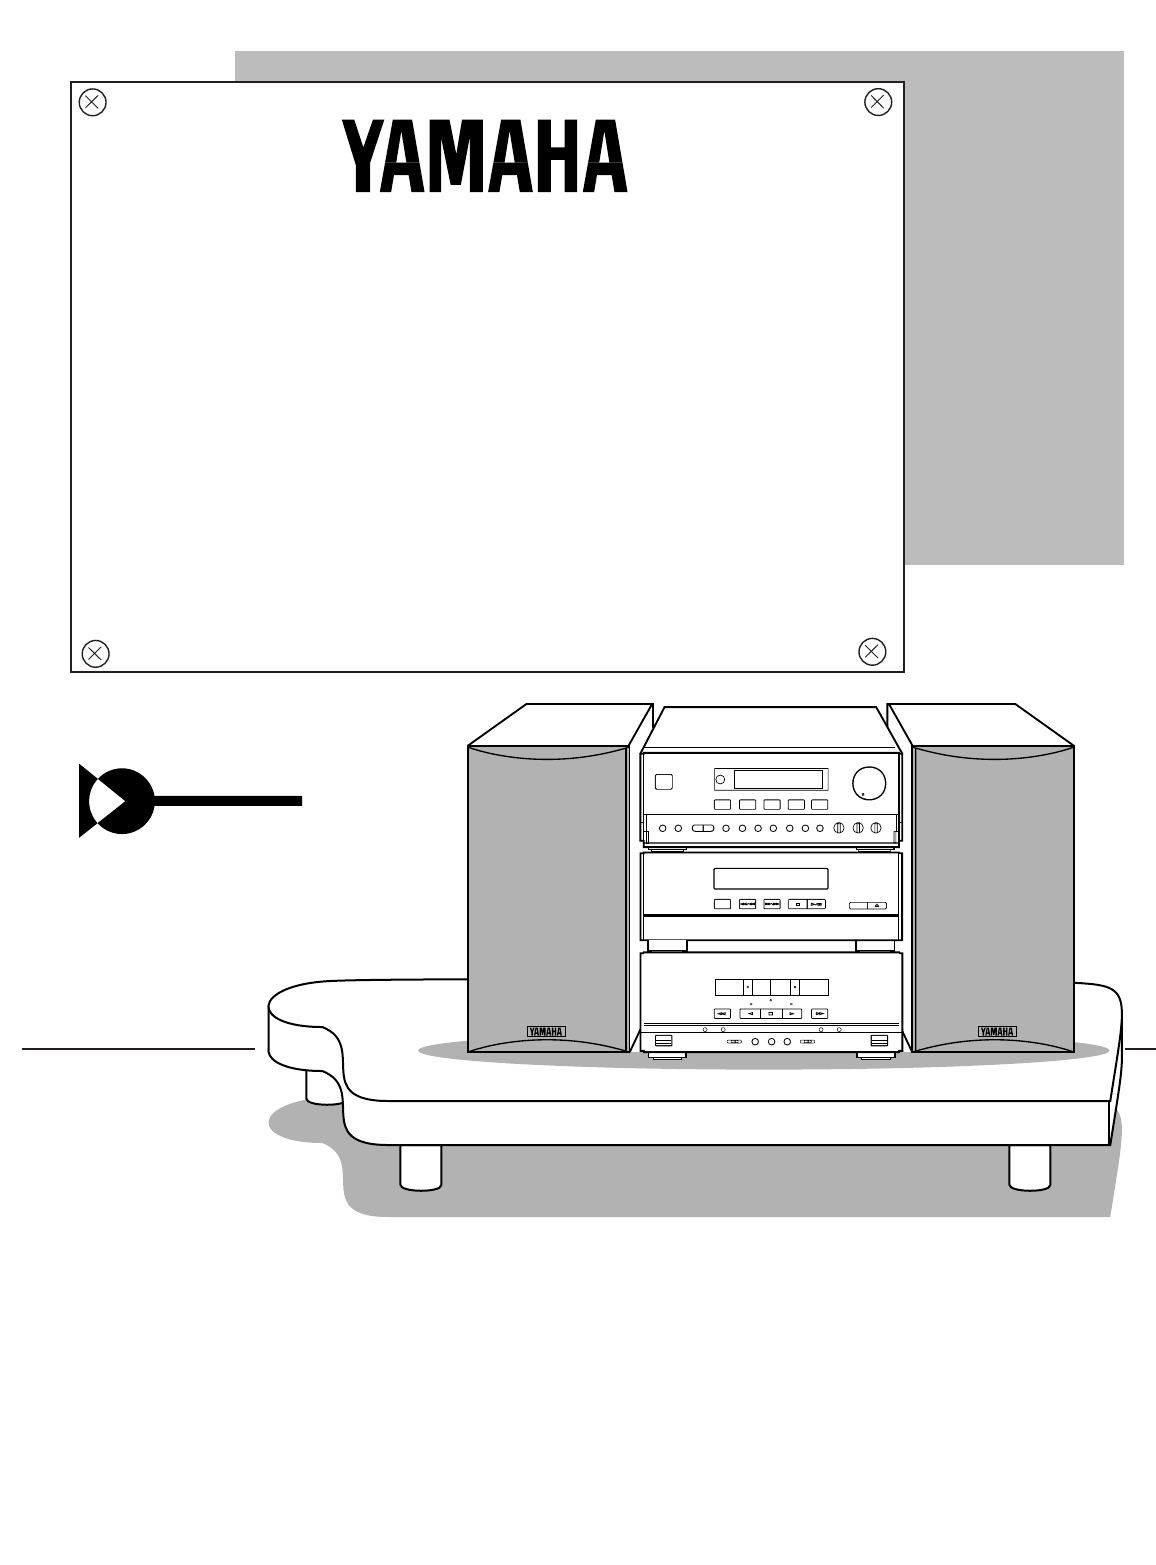
Active ServoTechnologyCC-50Natural Sound Mini Component SystemChaîne Mini de la série “Natural Sound”Natural Sound Mini Komponenten-SystemNatural Soun
CD Player Control Buttons15. Track Number Input Buttons16. TIME Button17. SKIP Buttons: /(SEARCH Buttons: / )18. REPEAT Button19. RANDOM Button20. S
E-9English30°30°Remote controlsensor0.2 m – 6 m(8” – 20’)Loading the batteries for theremote control transmitter1 Remove the battery compartment cover
E-10AMANTGNDFMANT75ΩUNBAL.Placing the systemThis system can be placed any way you like, however, besure not to place another unit or any object on top
E-11EnglishSpeaker connectionConnect each speaker wire to the SPEAKERS terminals. Cautions•Do not let the bare speaker wires touch each other as thisc
OPEN/CLOSE THE CONTROL DOORWhen it is not necessary to operate controls inside thecontrol door, close the door.To open or close the door, press the ri
E-13English1 While the power is on, press the DISPLAY button todisplay the time. If the power is off, you can proceed to thenext step.2 While pressing
The Digital Sound Field Processor (DSP) built into this unitpresents you with the ambience of an actual concert hall,jazz club, etc. by adding effects
E-15EnglishCOMPACT DISC PLAYER OPERATIONDIGITAL SOUND FIELD PROCESSOR (DSP) CONTROLCare of compact discsCompact discs are fairly resistant to damage,
E-16CD playback1 Select the CD player so that “CD” appears on the displayby pressing the INPUT selector or button.2 Press the OPEN/CLOSE button to o
E-17English123451234567867890E+I0TUNER DIRECT-+123451234567867890ABCDETIMEPROGTAPE EDIT+I0STOPPLAY/PAUSERANDOMREPEATCDTUNERTAPEPRESETDOWN UPPLAY STOPR
●Remote control transmitter●Télécommande●Fernbedienung●Fjärrkontroll●Telecomando●Controlador remoto●Afstandbediening●Batteries (size AA, UM/SUM-3, R6,
E-18COMPACT DISC PLAYER OPERATION-+123451234567867890ABCDETIMEPROGTAPE EDIT+I0STOPPLAY/PAUSERANDOMREPEATCDTUNERTAPEPRESETDOWN UPPLAY STOPREC/PAUSESLEE
E-19EnglishCOMPACT DISC PLAYER OPERATIONProgram playYou can program up to 20 tracks in any desired order.1 Load a disc and close the disc table.2 When
/ E-20To stop program play•Press the stop button. The first track numberprogrammed will be displayed.•To resume playback, press the play/pause /
E-21EnglishRepeat playAn entire disc, a single track or a programmed sequence canbe continuously repeated.1 While watching the display, press the REPE
TRACK2 3 4 5 6 7 8 9 10 11 12HALLDSPONTRACK REMAIN2 3 4 5 6 7 8 9 10 11 12HALLDSPONTRACK TOTAL2 3 4 5 6 7 8 9 10 11 12HALLDSPONTRACK TOTALREMAIN2 3 4
E-23EnglishNormally, if station signals are strong and there is nointerference, quick automatic-search tuning (Automatictuning) is possible. However,
E-24TUNING OPERATIONPreset tuningThis unit can store station frequencies selected by tuningoperation. With this function, you can select any desiredst
E-25EnglishAutomatic preset tuningYou can also make use of an automatic preset tuningfunction. By this function, this unit performs automatic tuningan
E-26E-26Detection holeTabTAPE DECK OPERATIONGeneral information•Do not use C-120 tapes, tapes with internal reels or poor-quality tapes, since they ca
E-27EnglishTape A or tape B playback1 Select the tape deck so that “TAPE” appears on thedisplay by pressing the INPUT selector or button.2 Open the
INTRODUCTIONCONTENTSE-1EnglishENGLISHPagePRECAUTIONS...2-3ACTIVE SERVO TECHNOLOGY ...
E-28Winding the tape1 If during playback, first press the stop button.2 Next press the fast wind or fast wind button towind the tape.3 Press the st
E-29EnglishContinuous playback1 Load the tapes into the DECK A and DECK B cassettecompartments.2 Set the reverse mode switch to .The reverse mode swi
Side A onlySide B onlySide A → SideBSide B onlySide A → SideBSide B only• When recording important selections, be sure to make apreliminary test to en
E-31EnglishTo stop recording temporarily1 Press the stop button of the CD player.2 Choose the selection to be recorded next by using theSKIP or but
E-32Recording CD on both sides of atape automatically1 Select the CD player so that “CD” appears on the displayby pressing the INPUT selector or but
E-33EnglishAutomatic tape-editingThis convenient feature can be used to program tracks on adisc for recording to tape. By only memorizing the tape’s t
E-34RECORDING A COMPACT DISCNoteThe CD player’s repeat play mode will be canceled duringthis recording mode.To cancel tape-editing functionBefore reco
E-35EnglishRECORDING A COMPACT DISCTo record programmed tracks1 Select the CD player so that “CD” appears on the displayby pressing the INPUT selector
E-36Recording from the built-in tuner1 Select the tuner so that “TUNER” appears on the displayby pressing the INPUT selector or button.2 Tune to the
Dubbing•During dubbing, adjusting the VOLUME, BALANCE,TREBLE and BASS controls have no effect on therecorded sound.If, however, the DSP is on, the DSP
NOTEPlease check the copyright laws in your country to record fromrecords, compact discs, radio, etc. Recording of copyright materialmay infringe copy
E-38HOW TO USE THE BUILT-IN TIMERTimer playBy using the built-in timer, you can set the time when the unitturns on and a source begins playing automat
E-39English➂ At ON TIME/time setting mode[“ON TIME” appears on the display, and soon it ischanged to a time setting mode.]Set to the time when the tim
E-40To begin CD playback from a desired track by thetimer play.1. Play back the track which you want to play back from thebeginning of the timer play.
E-41EnglishHOW TO USE THE BUILT-IN TIMERSleep timer operationThis unit can be turned off automatically.1 Play the desired sound source.2 Press the SLE
E-42INPUTPHONOAUXRLAuxiliary (AUX)1 Connect the output lead of a video cassette player, videodisc player, etc. to the AUX inputs of this unit.(red → r
E-43EnglishPHONESHeadphones•Be sure that your headphones have a 3.5 mm (1/8”)diameter plug and are between 16 ohms and 50 ohmsimpedance. Recommended
E-44SPECIFICATIONSAs a part of policy of continuous improvement, YAMAHA reserves the right to make design and specification changes forproduct improve
E-45EnglishE-45CAUSEAC supply lead is not plugged in.Loose speaker connections.Internal protection circuit is functioning.Interference from starting m
YAMAHA ELECTRONICS CORPORATION, USA 6660 ORANGETHORPE AVE., BUENA PARK, CALIF. 90620, U.S.A.YAMAHA CANADA MUSIC LTD. 135 MILNER AVE.,
ACTIVE SERVO TECHNOLOGY Active ServoProcessingAmplifierPortCabinetHigh-amplitudebasssoundSignals of low amplitudeNegative-impedanceoutput driveAir woo
NAMES OF CONTROLS, INDICATORS AND REAR PANEL PARTSE-4CD Player (CDX-S50)1. Disc Table2. RESUME button3. OPEN/CLOSE Button: 4. RANDOM Play Button5. SKI
E-5EnglishNAMES OF CONTROLS, INDICATORS AND REAR PANEL PARTSDouble Cassette Tape Deck (KXW-S70)50. DECK A Cassette Compartment51. DECK A Select Button
E-6NAMES OF CONTROLS, INDICATORS AND REAR PANEL PARTSFREQUENCY STEP switch (General model only)Because the interstation frequency spacing differs indi
Names of control buttons Receiver Control Buttons1. Remote Control Transmitter Window2. Preset Station Number Buttons3. A, B, C, D, E Selector Buttons
Related products and manuals for CD players Yamaha CC-50
 (71 pages)
(52 pages)
(71 pages)
(52 pages)


 (20 pages)
(15 pages)
(20 pages)
(15 pages)

 (156 pages)
(33 pages)
(24 pages)
(47 pages)
(23 pages)
(15 pages)
(40 pages)
(37 pages)
(138 pages)
(26 pages)
(24 pages)
(28 pages)
(59 pages)
(28 pages)
(26 pages)
(156 pages)
(33 pages)
(24 pages)
(47 pages)
(23 pages)
(15 pages)
(40 pages)
(37 pages)
(138 pages)
(26 pages)
(24 pages)
(28 pages)
(59 pages)
(28 pages)
(26 pages)
© 2020, manymanuals.com. All rights reserved. | 1.374 s |
 Manymanuals.com
 Manymanuals.de
 Manymanuals.fr
 Manymanuals.it
 Manymanuals.pl
 Manymanuals.cz
 Manymanuals.es
 Manymanuals-pt.com
Comments to this Manuals