Yamaha CDR-D651 Owner's Manual Page 16
- Page / 33
- Table of contents
- TROUBLESHOOTING
- BOOKMARKS
- CDR-D651 1
- GETTING STARTED 2
- For U.K. customers 3
- Supplied Accessories 5
- Connections 7
- CD Preventive Care 8
- Front Panel 9
- Remote Control 10
- YESTERDAY 11
- Menu Setting 12
- Basic Recording Operation 13
- 12 10,11 29 14
- Selecting an Input Source 15
- Selecting a Recording Mode 15
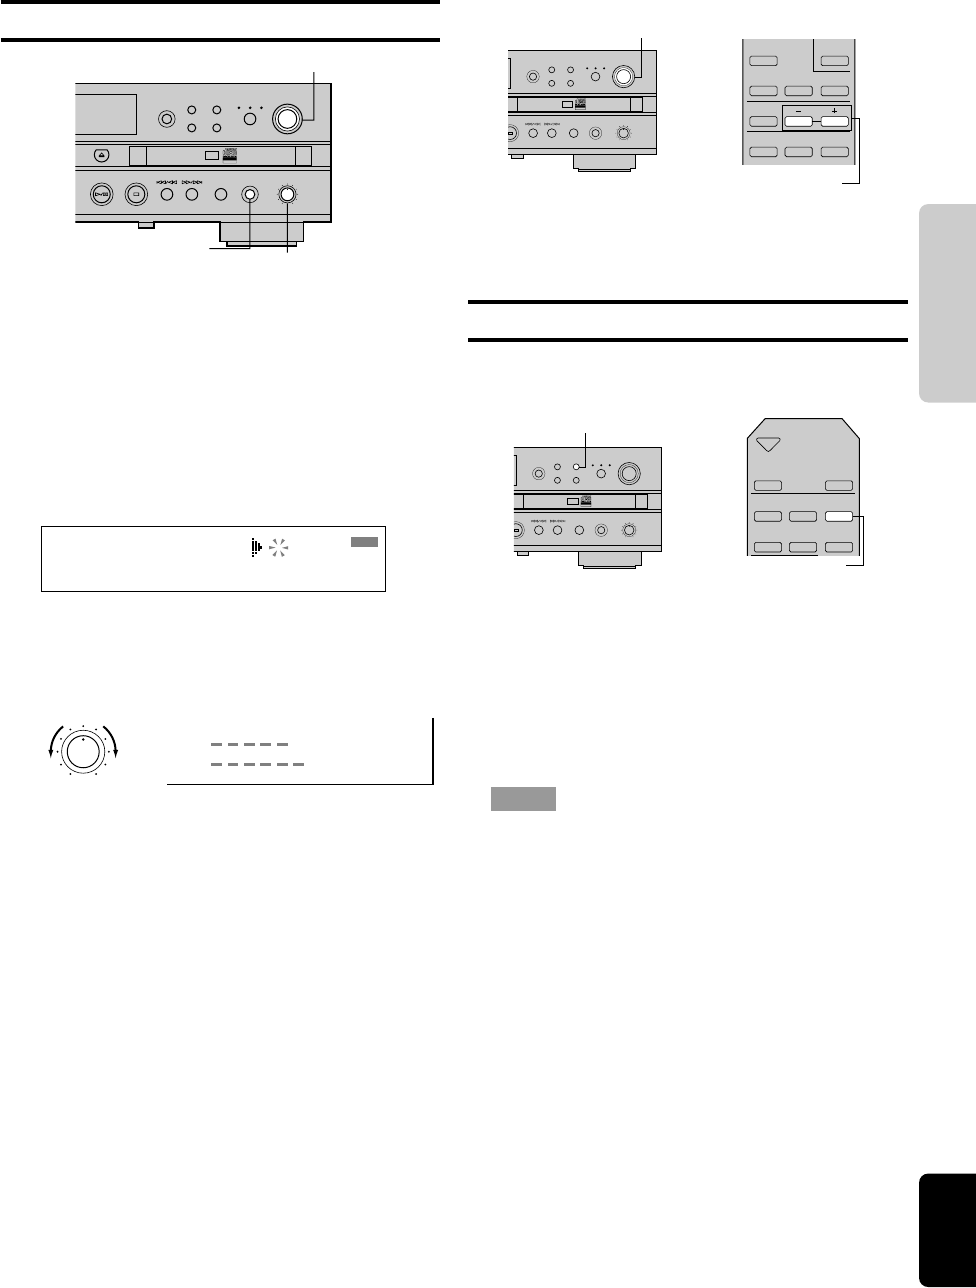
- Manual Track Marking 16
- Setting the Recording Level 16
- CD DIRECT Copy 17
- Synchronized Recording 17
- ALL SYNCHRO 18
- Track and Disc Erase 19
- (CD-RW discs only) 19
- REC Mute 20
- Fade In/Fade Out Function 20
- CD TEXT Copying and Editing 20
- Finalization 22
- Basic Playback Operation 23
- Relay Playback of 2 CDs 23
- Searching 24
- Skipping Tracks 24
- Program Play 25
- Random Play 26
- Single Repeat 27
- Full Repeat 27
- Repeat Relay 27
- Random Repeat 27
- Listening with Headphones 28
- Auto Play 28
- CD-Recorder System Notes and 29
- Limitations 29
- SCMS Copy Protection 29
- Display Messages 30
- Troubleshooting 31
- Specifications 32
Related products and manuals for CD players Yamaha CDR-D651
 (24 pages)
(47 pages)
(23 pages)
(15 pages)
(40 pages)
(24 pages)
(47 pages)
(23 pages)
(15 pages)
(40 pages)


 (37 pages)
(138 pages)
(37 pages)
(138 pages)
 (26 pages)
(24 pages)
(28 pages)
(59 pages)
(28 pages)
(26 pages)
(16 pages)
(18 pages)
(82 pages)
(26 pages)
(24 pages)
(28 pages)
(59 pages)
(28 pages)
(26 pages)
(16 pages)
(18 pages)
(82 pages)
 (46 pages)
© 2020, manymanuals.com. All rights reserved. | 0.932 s |
 Manymanuals.com
 Manymanuals.de
 Manymanuals.fr
 Manymanuals.it
 Manymanuals.pl
 Manymanuals.cz
 Manymanuals.es
 Manymanuals-pt.com
Comments to this Manuals